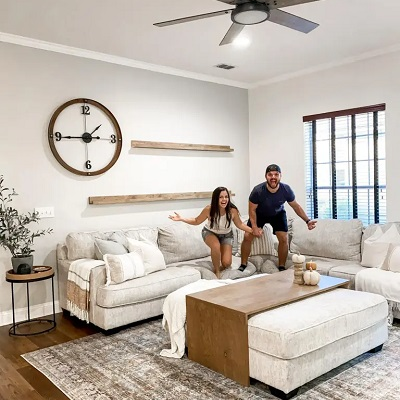
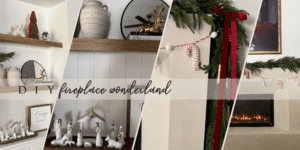
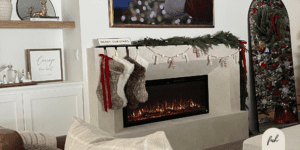
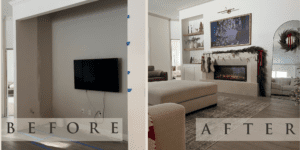
Join us as we transform a boring builder-grade alcove into a DIY fireplace with a built-in.
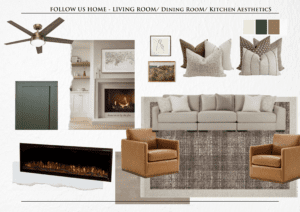
Chairs | Rug | Fireplace Insert | Fan | TV | Sofa
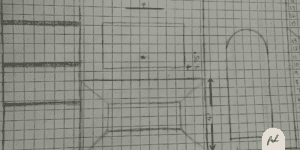
Construction Process:
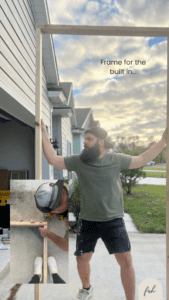
We began framing the wall after meticulous planning and the arrival of our fireplace insert. Crucial tip: Measure your insert before building; a mere eighth of an inch can make or break your project.

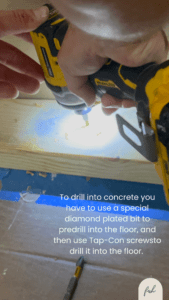
We used a framing nailer and driver for screws to secure the frame, you could use screws only if that’s what you have. Then we drilled into the floor with a specific diamond plated bit and Tap-Con screws meant only for concrete.
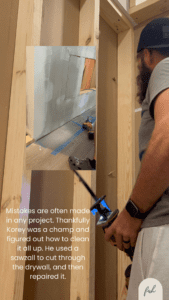
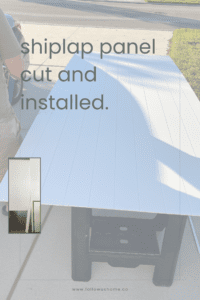
Drywalling followed, utilizing the score-and-snap method. If you’re unsure what that means, you just use a blade knife, cut the drywall, bend it at the seam you cut, and it snaps- (you may have to cut the opposite side with the blade knife again, but that’s it!

After the first wall we installed the second just like the first only adding a bottom frame for the fireplace insert and ensuring the drywall could sit over the framing without overlapping the wall it would be bumping up to (it needs to be flush).

Plans evolved as we shifted the fireplace 22 inches for better proportionality, definitely a hiccup, but so thankful we moved it. TIP: if something doesn’t look right change it, don’t be afraid, you will still not like it finished, and you will wish you changed it in the beginning.
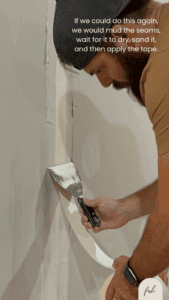
Discovering the wall behind the fireplace wall was load-bearing also rerouted our initial plans for adding the soft to our closet, and now we will utilize the space for holiday storage. A day of framing turned into a whirlwind of drywalling, taping, mudding, sanding, and, finally, painting the main area of our open floor plan.
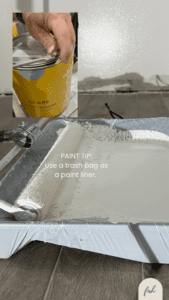
All the crown molding, walls, and fireplace—were primed and painted in Clare Paint’s FlatIron (trim paint) and Whipped (walls).
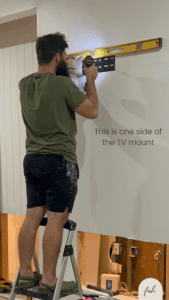
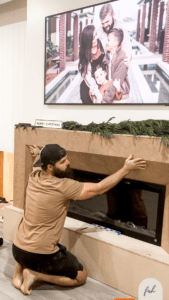
Mounting the Samsung Frame 65” TV turned out to be quite an adventure. Now, I understand why the store associate gave us a look when we declined the installation service. The TV sits so seamlessly against the wall, getting it up takes some patience. It really does resemble a piece of art, and once we hung it my brother thought we were joking when we told him it was our TV.
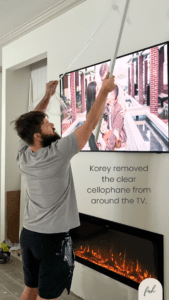
The Frame TV is supported by two mounts provided, and it requires a wall cavity for the accompanying box hookup. While the clear cord might not bother some, we opted to conceal it behind the wall, with the TV box neatly nestled in our cabinet with the built-ins. We used this gadget behind the tv, it was super easy to install.


The DIY cast stone fireplace is made of 2x4s that act as the frame and MDF that encases it all. We also added 2×4 cleats so the MDF would have something to grab when installed.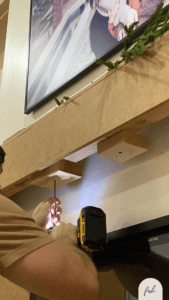
The flat piece around the mantel is 6″ and the angled cuts for the inside were all cut at 45 degrees. The box on the bottom is 14″.
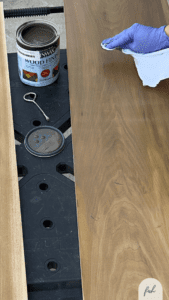
For the floating shelves we used poplar 1×12 (for the actual shelf) and 1×3 (for the fronts of the shelves). Before you stain anything you should always wood condition your piece, and follow the instructions accordingly. It will help the wood take the stain and removes the chance of it being splotchy. I just used an old t-shirt to apply both.
For the stain we used Minwax Weathered Oak, note: this specific can is only found at Lowes or Ace Hardware. After staining 3x, I applied a matte sealant spray I found that dries in 5 mins! You can buy the clear coat here.
A picture light, a dimmer switch, and a Walmart frame for the frame TV added the finishing touches. (We rub n buffed the frame we bought, and now it looks just like the one’s 3x its price!)
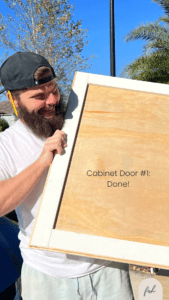
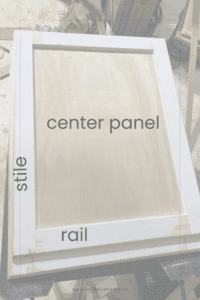
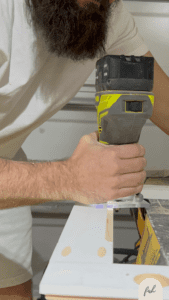
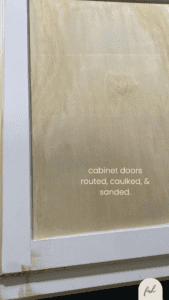
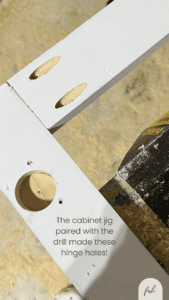
From the installation of the Samsung Frame TV to the creation of floating shelves and the mantle surround, attention to detail was key. Utilizing tools like the KregJig made cabinet door construction smoother, while the final rub and buff on the TV frame added a touch of antique gold sophistication.
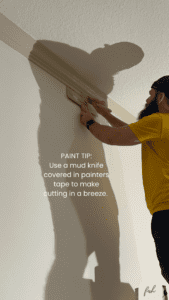
Whenever we take on these projects we know we will inevitably learn something, and our hope is that you can learn from our mistakes… So here’s a reminder—avoid sparks by routing edges before pocket holing the stiles and railes together. Paint crown molding with a 16” mud knife to expedite the process. When adding floating shelves, account for dimensions of the shelves and finally Kreg tools are a best friend for DIYing cabinets!
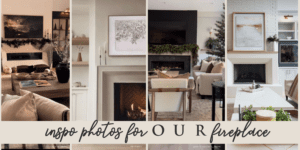
I was inspired by so many other DIY fireplace designs I’ve included some inspo photos.
We kicked off the project in November and wrapped it up during the first week of December. Balancing family life and work, we managed to transform the alcove from dull and useless into a cozy defined space now. I think it was definitely worth the tears, time and effort! What do you think?
If you have a space like this in your home, but are afraid to tackle it, reach out! We can help!
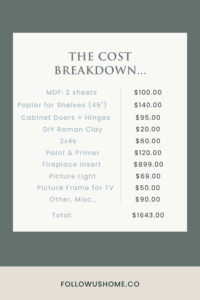
In the graphic below, I’ve detailed the costs to provide you with an overview of what our costs were, not including tools we already own, etc. Hopefully you find it helpful.
As I reflect on this journey, from envisioning a cozy home to conquering construction challenges, the satisfaction is immeasurable. Our alcove, once a neglected space, now stands transformed, and just in time for the holidays—. For more home renovations and diy projects visit us over on instagram.
We recently shared where we are going on the blog you can check that out here.